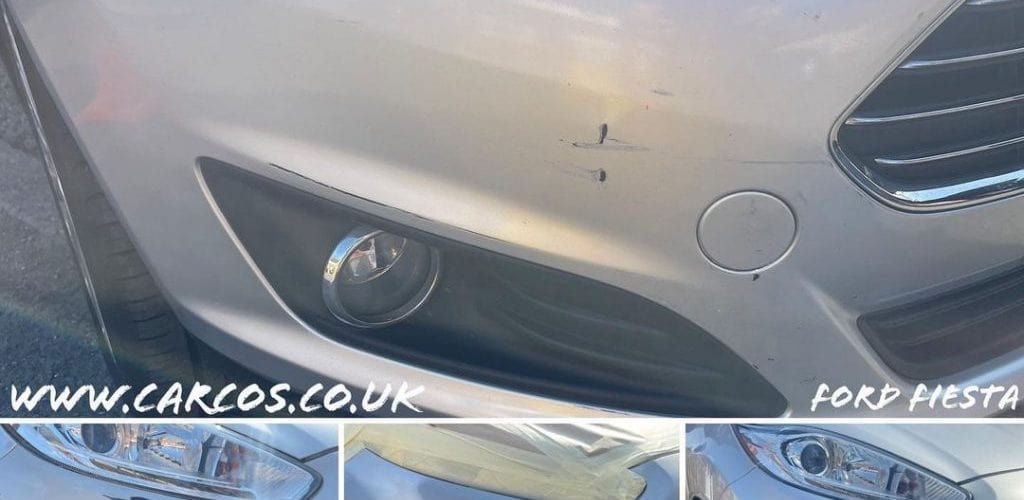
Now that you know most of the things about our service, we are going to clear your concerns.
Most people must understand how we will repair their highly damaged plastic bumper. Therefore, we will tell you how the car plastic bumper repair goes.

Steps that expert car plastic bumper repairers follow
1. Choose an Adhesive and Prep the Fascia
Once the bumper is detached from the car, please take it to a dry and warm place because the adhesives need to work fine.
There are multiple types of adhesives for different bumper types. Hence, one should consult the car parts store counterman about which adhesive material is best for your bumper type.
Then get that item with all other required things and get to work. But we don’t need further information as we already have lots of experience.
We’re just a call away if you or your instructor needs help.
Usually, there is PP, PPO, TPE, PUR, or TPUR, these five types of labels on your bumper plastic.
Tell that stamped code to the counterman and ask which would be better. After you’re done gathering all the items required for your plastic bumper repair, you will be good to go. But ensure that you only have the same recipe for all your car parts for the same operation.
Scuff the damaged area of the bumper with a surface cleaner especially made for plastic. Once your surface is clean and dry, wipe it down with the preparation solvent but move only in one direction.
2. Grind a “V”
Now sand the damaged area with 80-grit paper and grind a “V” that will provide a lot of surface area for the repair material to adhere to. Also, the “V” shape will give you enough surface area for better placement.
3. Mix the Adhesive and Repair Tears
Now you need to mix the repair material of the adhesives and tears and apply it to the bumper where it’s cut or torn.
Ensure that the repair material is equally mixed and that you have used the self-stick fibreglass-repair tape on the inside of the bumper.
This would allow you to add structured grooves on the bumper if there were any. Then put the adhesives on clean cardboard paper and apply it to the tape from the outside. Use a squeegee to do this for better results. To complete the filling, use another layer of tape going 90 degrees from the previous tape.
4. Spread the Plastic Filler
After completing the above step, please wait for it to dry.
Then, spread the plastic filler on the front side of the plastic bumper by removing all the tape or any leftovers. Use 80-grit sandpaper and sand the front surface of the bumper.
If any spots are not filled or down the surface level, fill them with repair material. Then, squeegee it equal to the surface after waiting for it to dry.
5. Sand and Contour
After waiting again for it to dry, apply a very thin layer of the repair material on its surface.
It will fill all the surface imperfections and unevenness; wait again for it to fry.
Furthermore, in the last part of the repairing procedure, use 80—grit paper to sand, then 120-grit paper to ensure there’s nothing left to do.
Finally, sand the surface with wet 400-grit paper after contouring with the 120-grit paper on the surface. Sanding with 400-grit paper will complete this procedure.
6. Paint
Before painting, you must prepare it by applying two wet coats of the car plastic part sealer. Let it dry for at least 30 minutes and prepare it for priming and then for painting.
Now prime the surface of the bumper with a two-part primer-surfacer. But one thing is compulsory, let it dry between the coats, so it goes to perfection. And when it is dry and hardened enough to perform the following procedure, remove any imperfections with 400-grit paper. Sanding it with that paper while it is dry is important to synchronize the surface of the plastic bumper perfectly.
Here comes the last part; the spraying part. But before spraying the basecoat on the bumper, Wet sand the damaged area first and then wipe gently to remove any dust or particles on its surface. Then go on with the spraying part.
To properly spray the area, use the instructions of the manufacturers of your car. But when you are done with the first basecoat of the bumper painting, it may require you to do it twice and thrice.
So, make sure to go through this procedure one or two more times completely. And letting it dry between the coats is compulsory so that the paint sits in its position and does not drip off.
After that, mix a clearcoat with the hardener, complete the medium clear coat and let it dry for like 30 minutes or more to completely let it dry. And then, coat it one more time and wait for it to dry again.
Once you’re done with all these coats, your car’s bumper is ready to be installed on your car again.
